Building the help center is an ongoing process, new programs and new questions will always pop up, and it's important to keep the help center as up-to-date as possible. To that end, some agents will be given administrative rights to add and edit articles in the help center; this guide outlines the basic steps to creating an article from scratch.
To begin, navigate to the help center while logged in, and click on "Guide" to pull up the article back-end.
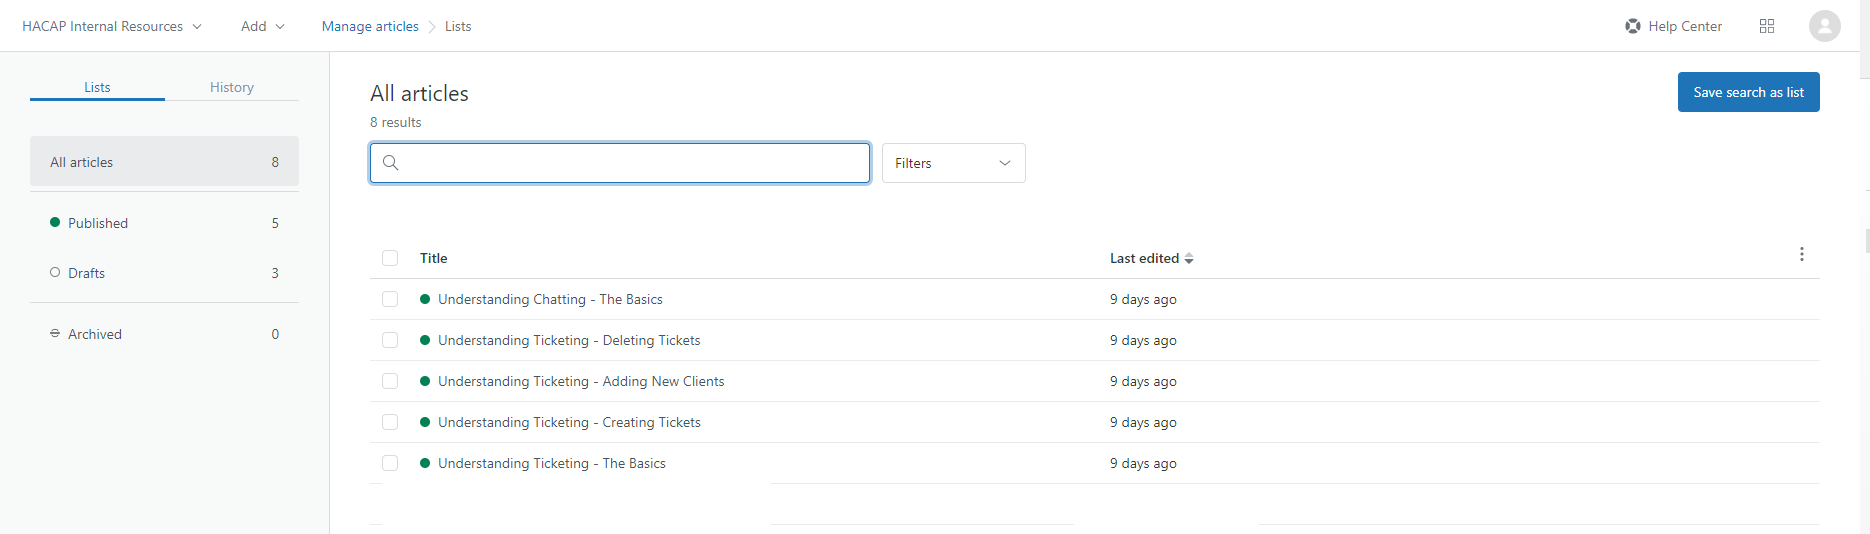
Click image to enlarge
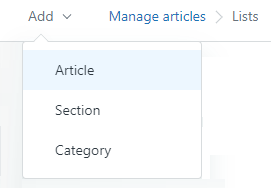
This lists all the articles currently available in the Help Center. To add a new article, click on "Add" in the upper left hand corner, then select "Article" (do not select "Section" or "Category" unless specifically told to do so).
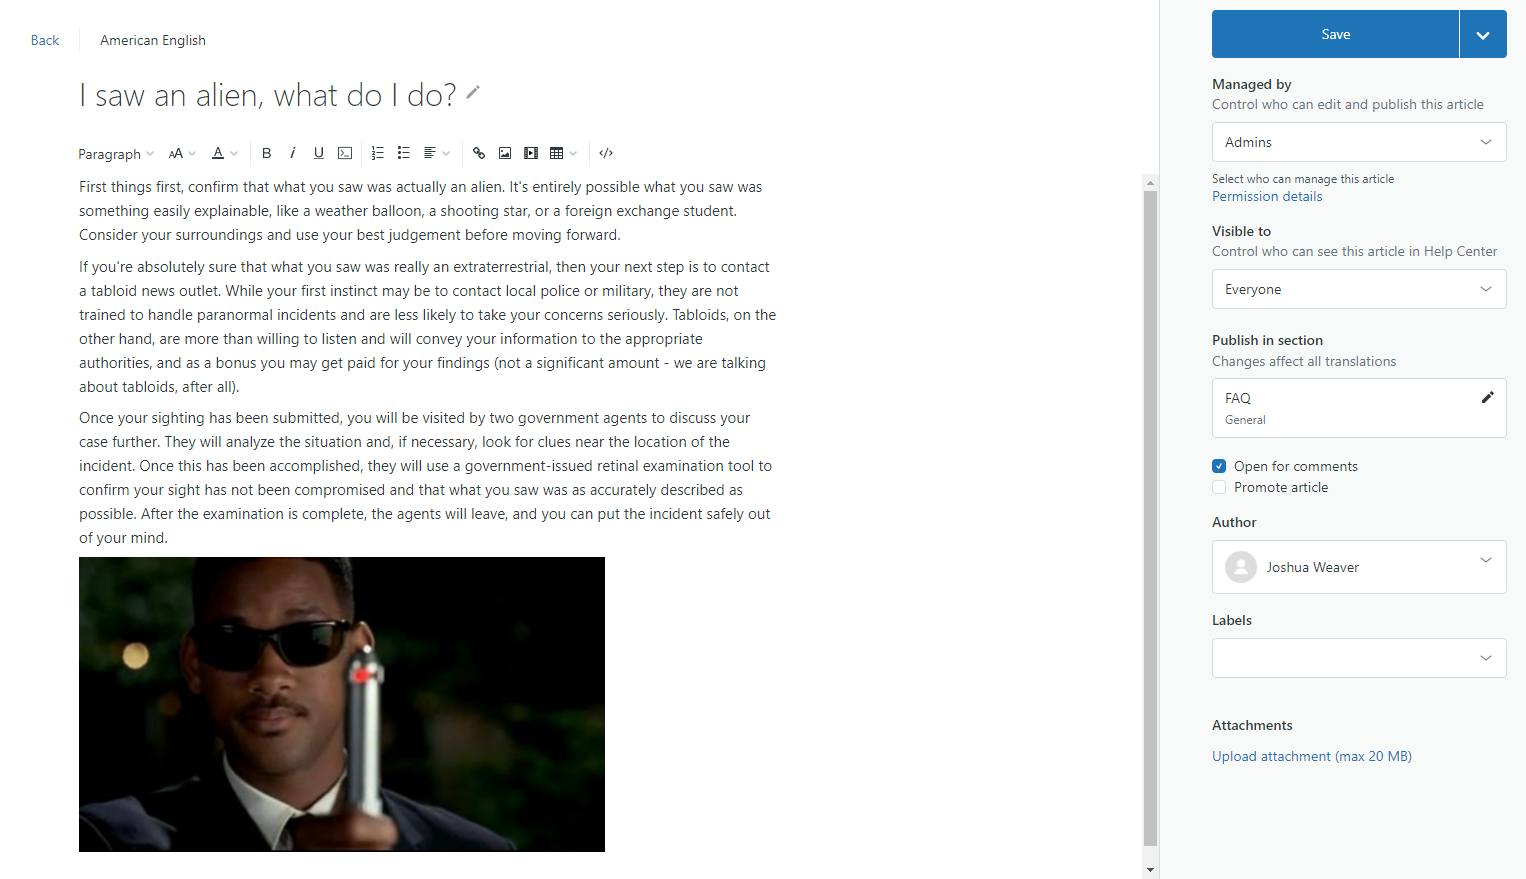
After doing this, a new blank article draft will be created. Writing out an article is fairly straightforward: the Title line should contain a brief summary of the article's contents, whether it's an overview of a program or the answer to a specific question, while the Description should contain the full write-up of the article or answer. Keep articles professional, do not use shorthand or emoticons and convey information as succinctly as possible.
When the article is written out and ready, the sidebar has a few options that must be altered to ensure it actually shows up in the help center. The Managed by, Author and Labels fields do not need to be changed, but the Visible to field must be changed to "Everyone" to ensure newcomers to the help center can access the article. When changing the Publish in section field, choose the section and subsection that most accurately fits the article's subject (for example any questions about the food reservoir should be added to the Health & Nutrition section, under the Food Reservoir subsection). After these have been changed appropriately, click on the arrow next to the blue Save button and select "Publish" to add your article to the Help Center.
Click image to enlarge
Comments
0 comments
Please sign in to leave a comment.