Generally speaking, most clients will create their own tickets when they reach out to HACAP via email or chat. However, some methods of communication will require tickets to be created by customer liaisons for in-system tracking.
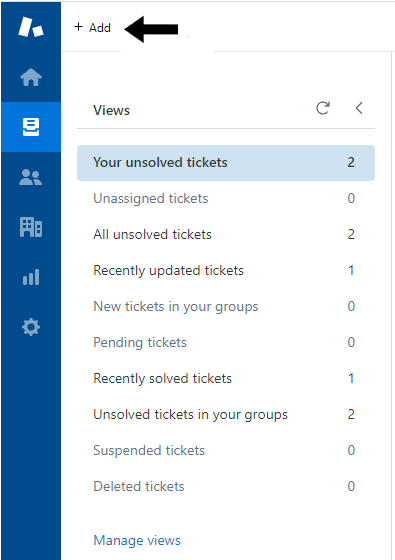
To create a ticket, click "Add" in the upper left hand corner of the dashboard.
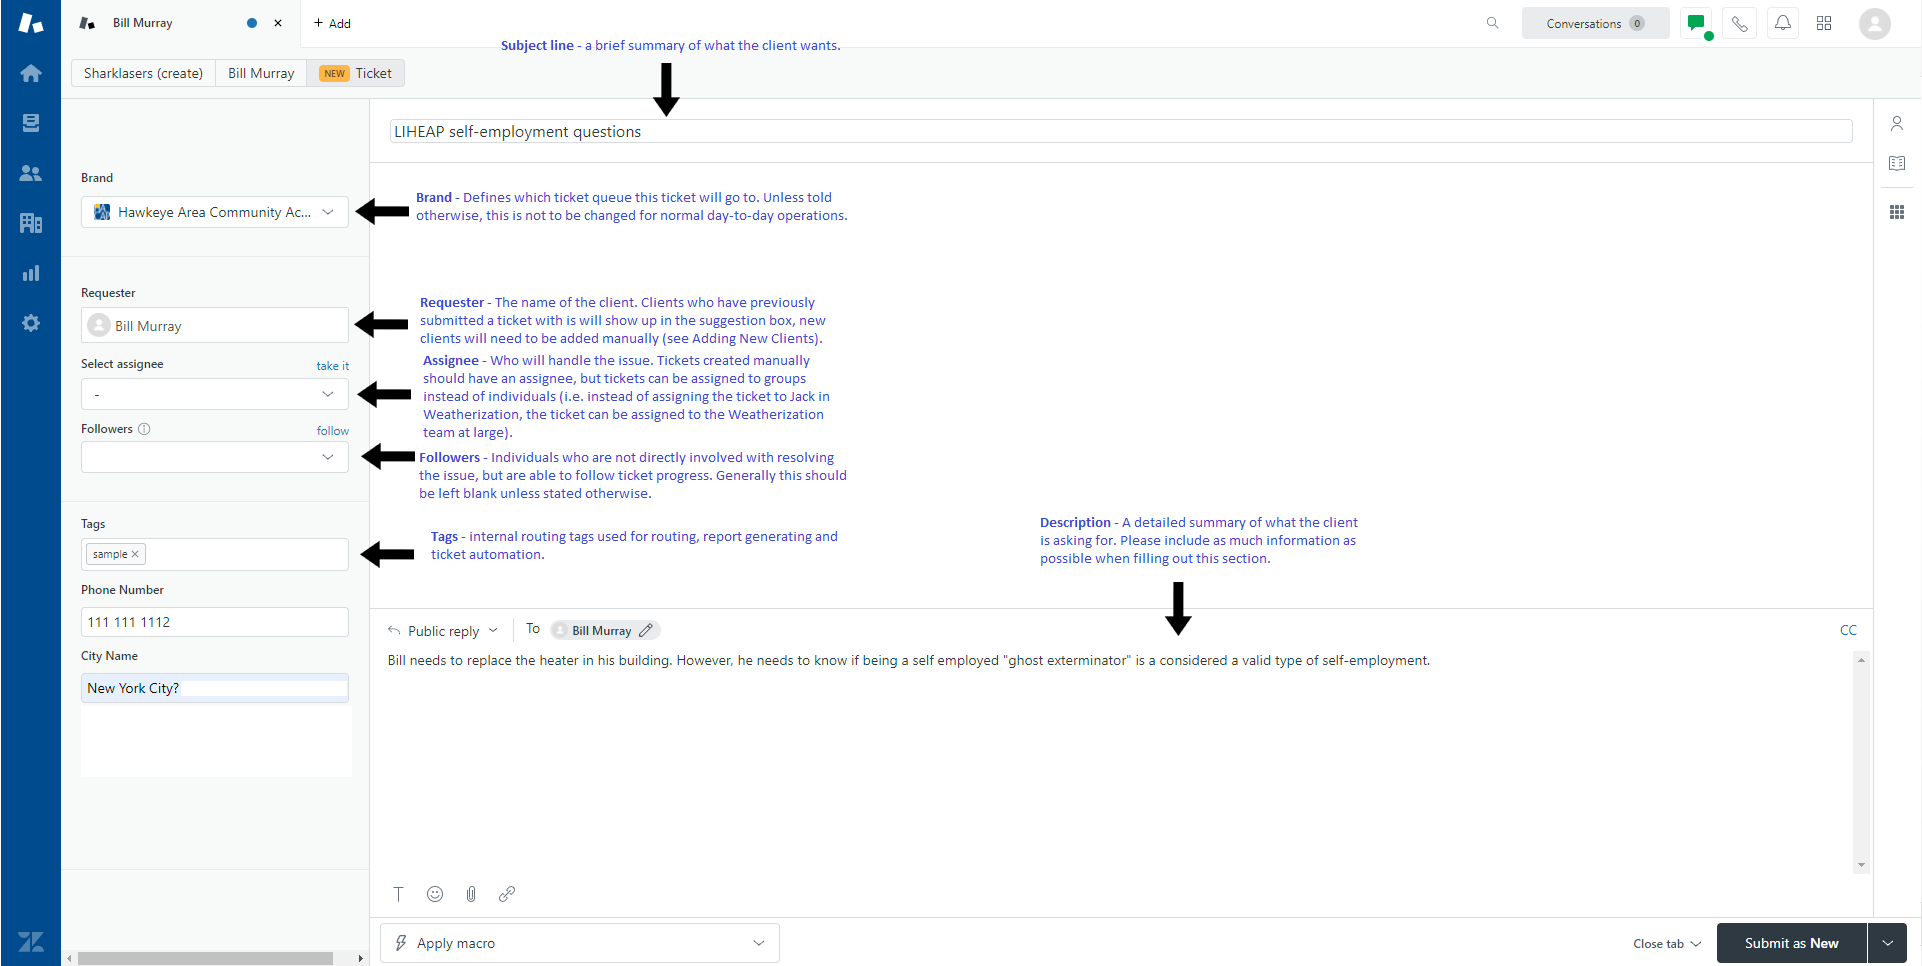
This will create a blank ticket. Below is a rundown of each field of the ticket.
Click to enlarge
First and foremost, the Requester field should be filled with the client's name for future ticket routing. If the client has submitted an issue before, simply search for their name and click on their name when it pops up, Otherwise, you will need to add the client manually (see Understanding Ticketing - Adding New Clients).
The Assignee field should be filled with whichever team or individual is most appropriate for the issue. If the issue does not have a clear team associated with it, assign it to the Customer Liaison group for the time being and figure out the appropriate destination afterwards.
Followers and Tags should not be filled in unless it is requested by a department lead.
The Phone Number and City Name fields should be filled out with relevant information from the client.
The Subject field should contain a brief summary of the client issue, while the Description field should have a more detailed description of what the client is asking about, and should be filled out as thoroughly and accurately as possible.
When a ticket has been filled out, click on the "Submit as New" button to finish. Do not choose any of the other "Submit as" options when creating a new ticket.
Comments
0 comments
Please sign in to leave a comment.